
Hi, everybody!
Well, I have had a glimpse this week of what motherhood might be like for me.
Atticus got sick again twice this week. We took her to the vet today and they are treating her with probiotics and antihistamines, in case she is allergic to something. But they say her behavior appears to be epileptic. Oye.
So, we are hoping that it is just a GI issue and that we can find the trigger!
But I have, shall we say, not been handling it well. I really don't know how I am going to handle it when my babies get sick or hurt. I'm banking on the fact that my maternal instincts will make me stronger.
Here's hoping.
But on another note...
I wanted to share with you a fun project I finished last week!
I actually "rescued" these chairs from an old building at my church before it was torn down last year.

When Brian and I decided to make the second bedroom an office, I liked the idea of making it a couple's office.
Two desks, one "male" and one "female," but I thought it would be cute if we had matching chairs.
So, I thought of these poor little abandoned and abused chairs.
I headed out and bought some off-white spray paint and spent {what felt like} 3 or 4 hours browsing fabric at the craft store.
I finally decided on this.

Love it.
So I, by no means, am an expert on re-upholstery.
I honestly was winging it on this project. I've seen it done a few times and I figured it couldn't be too hard.
And it wasn't.
So, if you're a beginner and have some chairs you'd like to makeover...
Please don't do this...
Do this!

So, here we go. Flip it on over and look for the screws that are attaching the seat to the chair.


Take it from me, put the screws in a baggy and label them.
If you don't get around to finishing this project {and you're anything like me} I guarantee that in a few weeks you will be straightening up and ask yourself, "I wonder what these screws go to..."


So here is what you'll need:
 |
| Fabric, I was able to do both chairs with 1 yard. A heavy duty staple gun, {about $20 everywhere we found one.} 1/2" foam and 1/2" batting. *not shown, a pair of needle-nose pliers. |
Here is our awesome spray paint booth that Brian built for me.
 |
| This picture is deceiving, this is in our garage, not our house! But nice dry wall and molding for a garage, right? |
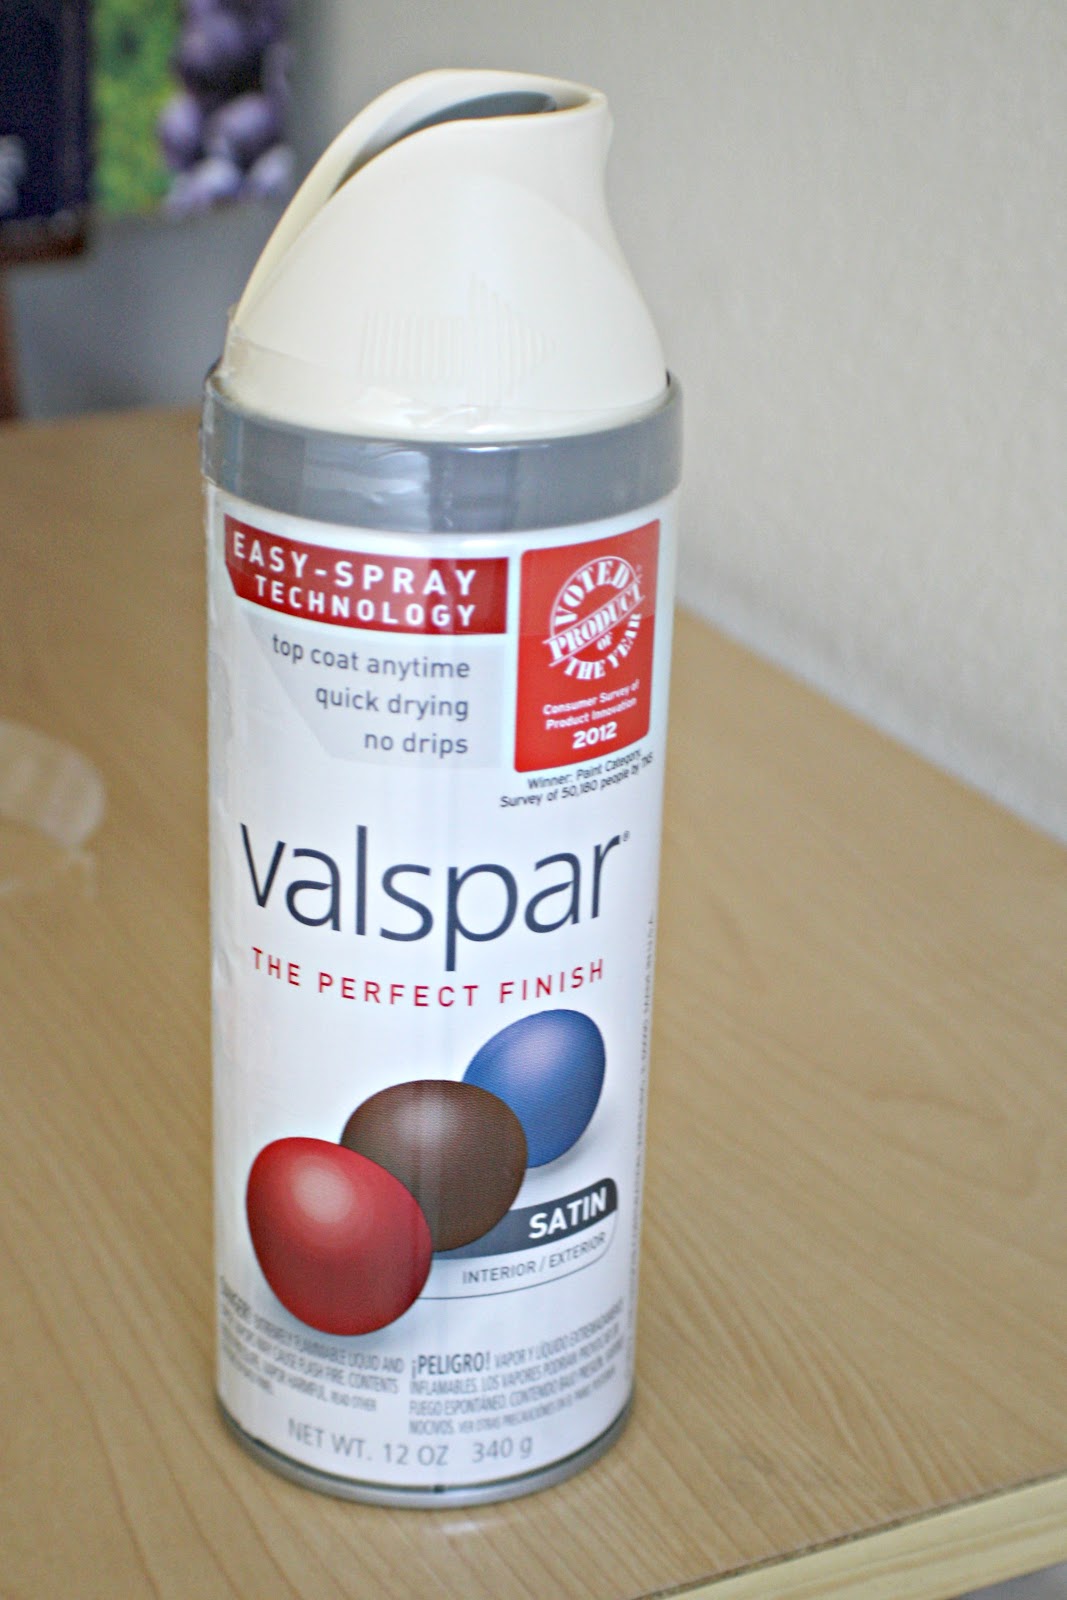 |
| I haven't found a favorite spray paint brand, {I tend to just pick by color} but this fancy nozzle they've got going actually did keep my trigger finger from cramping, {no joke.} |

I definitely think the white is a huge improvement to the lovely bamboo.
Now we just had to tackle the faded yellow vinyl...

It might take some work, these chairs had a bagillion, but pull all of the staples out.
 |
| Supervisor. |
Keeping the base, I put the foam on first. Just lucked out that it was pre-cut to the perfect size, {livin' right bonus.}

Next, I wrapped the batting around the foam and stapled it to the bottom of the base.

Theeeeen, the foam that was already under the lovely faded yellow vinyl was still in pretty good shape, and since it was already fitted to the base, {and covered the sharp corners,} I decided to keep it.
So, I put that on top of the first layer of batting.

And then added a second layer of batting. These are comfy chairs, y'all.

Now, I can't believe I didn't take any more pictures between this stage and the finished product, but...well, I didn't.
The next step is to pull the fabric tightly around and secure it with staples, just as you did the batting.
I always hear and read that you should be sure to pull the fabric really tight. But I found that I ended up with an uneven edge, sort of smooshing down the batting too much.
So, I kind of hate to say this, but eyeball it.
Pull it tight, but not too tight...
Then plop it back down on the chair and put the screws {that you know the exact location of} back in.
And...drumroll please...
 |
| Oooooh. Aaaaaah. |


So, while I was really sad to see the faded yellow vinyl go, I love my new chairs!
And, I love that my feminine desk and Brian's masculine desk have matching chairs.
More on our office later, we're not ready for a full tour just yet, but we are well on our way!
Until then...

Damn, I love before-and-after pictures.

Love the chair! That fabric is beautiful!
ReplyDeleteI am so sorry about Atticus! Is she seizing?
I have decided since becoming a pet parent that it is probably best for me not to have human children. My "free" dog that was found has a recessed vulva (I didn't even know that is a thing) which has lead to many UTI's and a bacterial onset seizure. Now we are looking at surgery. My dogs are my babies and I am a mess. I hope you find out what is wrong with your sweet girl and that it is treatable, or even better, fixable!