Showing posts with label good girlfriend/bad vegan. Show all posts

Thursday, July 19

Salt Roasted Rosemary Potatoes with Roasted Garlic Rosemary Butter & Arugula Salad...[gasp]

Hi, folks.

I made this dinner a few weeks ago for my parents and some of their friends.  

It all started because I made a chicken recipe {found on Pinterest} for my parents & my mom liked it so much she had me make it for all of her friends that she raved about it to.

I have made this chicken so many times...well, more on that later.

Right now I want to tell you about the sides that I made for this dinner.

First, I salt roasted some baking potatoes. 

I first heard about salt-roasting when Brian & I were over on the Gulf Coast visiting my cousin, Grove, & her husband, Adam.

They made these for us and I thought it was so cool but also seriously delicious.

The potatoes turn out so moist & fluffy that you really don't even need to put butter on them...but I did, because everything is better with butter.  

And because I found a recipe for Roasted Garlic Rosemary Butter.  

Puh-lease.  Just try to stop me.


{this recipe is from Cook's Illustrated magazine}

Scrub your potatoes to get rid of any dirt or grime...ew.


Fresh rosemary...yum.

Thoroughly cover the bottom of a 9x13
inch baking dish with table salt.
Remove outer paper from a whole head
of garlic and cut the top off.

Nestle the dry potatoes,
4 or 5 sprigs of rosemary,
& the garlic {cut side up} in the salt
leaving space between the potatoes...

...like this.
Cover with foil & bake in a pre-heated, 450 degree oven for
an hour to an hour & 25 minutes.
Carefully remove the foil, take the garlic out & brush
the potatoes with a little olive oil.
Increase the oven's temperature to 500 degrees
& bake the potatoes, uncovered, for an additional 15-20 minutes.

Meanwhile, in a small bowl, combine an 1/8 teaspoon of salt
& a 1/4 teaspoon of fresh, minced rosemary...

& once the garlic is cool enough to handle, gently squeeze
the garlic out of the paper & mash it on up.

Add the garlic to the bowl with the salt & rosemary
& 4 Tablespoons of unsalted, softened butter
& mix well!
{Hey, Vegans, use Soy-Free Earth Balance!}

I really hope y'all will try this...the potato turns out crispy on the outside & moist & fluffy on the inside. 

Plus, they're infused with the garlic & rosemary flavors.

& with the Roasted Garlic Rosemary Butter...umm, yea.  Yum.

So, next I made this really delicious salad.  

My friend Ashley made it for us one night when we were cooking out.  It is just a baby arugula salad with a basic vinaigrette, {from Barefoot Contessa's Back to Basics Cookbook.}


I used a bag of baby arugula...

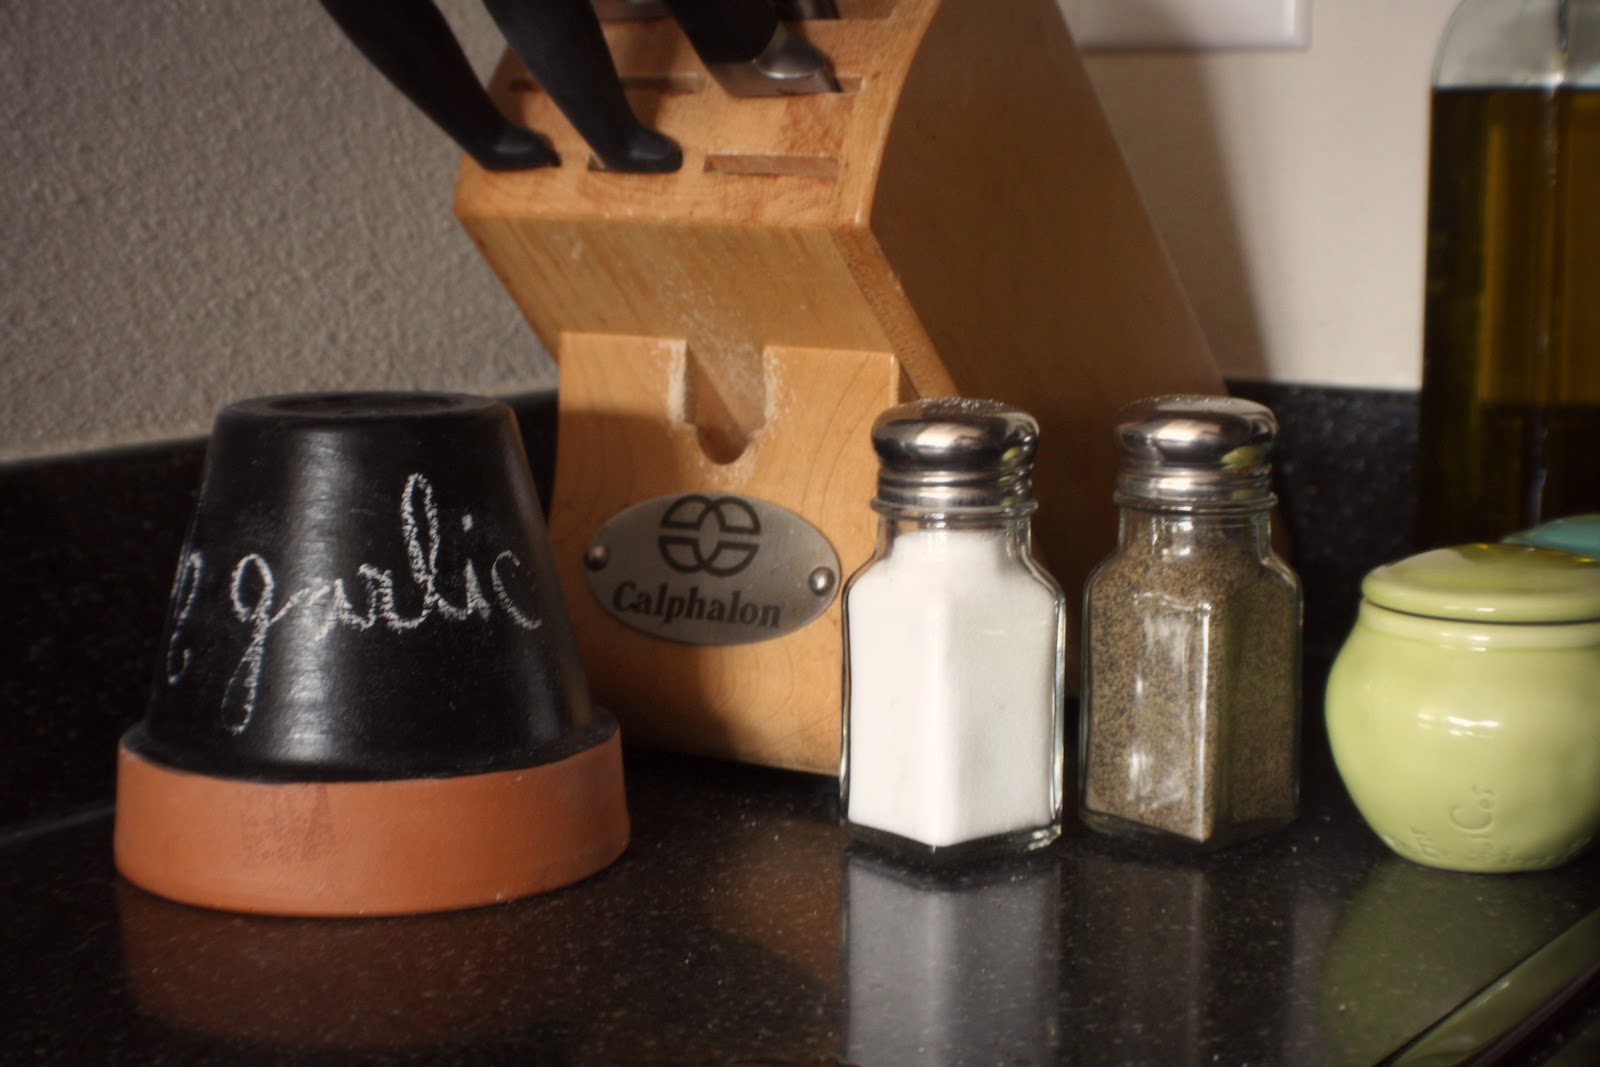
the juice of 2 lemons, a 1/2 cup of olive oil, a 1/2 teaspoon of salt,
a 1/4 teaspoon of pepper & freshly grated parmesan cheese.

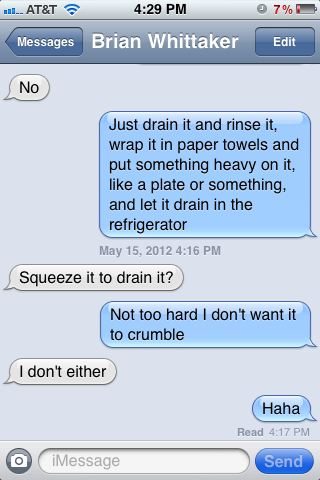
{I asked Brian to stir the dressing while I was finishing up the potatoes & about 10 minutes later I realized he was still stirring...he's cute.}


Mmm.


Mmmm.


Mmmmmmm.

So, this dinner turned out preeeeeetty well.  It was delicious & really very easy.

I'll tell you more about the chicken later...

Until then, enjoy your Thursdays everyone, Brian & I are trying out a new recipe tonight at my parents' house for the White Sox v. Red Sox game.  Go White Sox!


Monday, July 9

{Keeeeeeen-waaaa} Burrito Bowls

What's up, y'all?

I had so much fun yesterday sharing my new ottoman with you, it's been awesome seeing how many of you have checked it out today!

Tonight I wanted to share a new recipe that I tried out this week that. was. DELICIOUS.

Brian & I love Chipotle.  It's fresh and delicious.  

And it's Mexican, which makes up about 94% of Brian's and my diet.  

This recipe is a take on Chipotle's Burrito Bowls.  Only instead of using rice, the recipe calls for quinoa.

Ah, quinoa.  

Never had it?  Quinoa, {keen-wa} is a whole grain, prepared just like rice & it is a complete protein.  Big in the Vegetarian world, but catching on in meat eaters' worlds as well,  it's awesome. 

I came across this recipe on Pinterest, {duh.}  It hails originally from The Shiksa in the Kitchen,

{an AWESOME little blog, if you haven't checked it out yet, I recommend it...amazing recipes.}

but I did make some changes to her recipe.  

Here they are:

- Start by sautéing some finely chopped Onion in 1 Tablespoon of Olive Oil in a medium sauce pan,

{the recipe called for 1/4 Cup, but y'all know I love sautéed onions, so I just used half of a small onion}

- Go ahead and throw a clove or 2 of minced garlic in there now, too


Give them a few minutes to get nice and
translucent and brown...I like to salt them when I first put them in.

- Next, rinse & drain 2 {15 oz} cans of black beans


- Now, combine the black beans in the sauce pan with the onions & add a sprinkle of red pepper flakes, a Tablespoon of cumin, 1/2 Cup of water, a small handful of fresh, chopped cilantro & the juice of 1 lime

{these seasonings differ from the original recipe, I used my traditional taco seasonings}

- Bring the black beans to a boil and then turn to low and simmer for at least 15 minutes


- Meanwhile, rinse 1 cup of quinoa in a fine mesh strainer

- Bring the quinoa to a boil in 2 Cups of water, then reduce to low and simmer, covered, for around 20 minutes

{leave the quinoa alone while it's simmering...once the water has all evaporated, fluff with a fork...this should keep the quinoa nice & fluffy}


- After the quinoa is cooked, stir in a small handful of fresh, chopped cilantro & the juice of 1 lime


Now, use whichever taco or burrito toppings you prefer!  

I made my favorite corn salsa, {you can find the recipe here,} shredded cheese, chopped lettuce & avocado, {duhr.}


- First, put your quinoa in the bowl and serve black beans over that


- And, finally, add your toppings!


These turned out so well!  We really enjoyed them.

Seriously.  Delicious.

They are so filling thanks to the quinoa and black beans...yum.

I hope you'll give them a try, until then, here's hoping you made it through today without coming down with a case of the Mondays.

**Update**

I'm linking this up to another Pinterest Party, here!

This one is put on by:

Sherry {Young House Love}
- Check out Sherry's awesome Paint Project

Katie {The Bower Power Blog}
- Katie made such a cute TeePee, {from a project which I've also pinned!}

Kate {Centsational Girl}
- I am obsessed with Kate's X Base Table

& Michelle {Ten June Blog}
- Michelle's Modge Podge Nursery Art has the wheels in my head turning for sure...

These ladies are a huge inspiration to me.

If you haven't been to their blogs yet...well, you're crazy...but seriously, go.  At least check out their Pinterest projects!

Until then, Happy Tuesday, folks.


Friday, July 6

I {heart} Garlic.

So, you should probably already know this from the recipes that I've shared with you, but I love garlic.  

Pretty much every meal I make starts with sautéing garlic.

I think Brian particularly loves this about me.

But, anyway, I buy a lot of fresh garlic.  And I've found that, while I do use it pretty much every day, I still lose a few cloves because they sprout or go bad pretty quickly.

So, I did a little research and found a few different ways to keep garlic fresh.  


You want to keep the garlic in a cool, dry place...but the key is to also make sure that fresh air can get to it.

An overturned flower pot is ideal because of the hole in the bottom.

You could also use a mesh bag, a wire basket inside of your cabinet, an egg carton or a paper bag...

I chose this method because it provided the opportunity to combine two of my favorite things...

garlic & chalkboard paint.


I found everything that I needed at my local crafts store.
I already had the flower pot, but you could find one at a
crafts store,  hardware store or garden center.


What else I can I paint with this...
taking suggestions.


The directions on the paint said to do 2 coats,
but I ended up having to do 4 to get the coverage I wanted.
I waited an hour in between coats.


Then let the paint cure for 24 hours.


And then "condition" the paint by lightly rubbing chalk
over it & then rubbing it in, {I just used my hands.}

ta-da


So, I love this.  It was a really fun project, too.  

Seriously trying to figure out what else I can use this chalkboard paint for.

Those salt & pepper shakers look mighty plain...

I used some of that garlic the other night in some seriously delicious Quinoa Burrito Bowls.

More on that later, though.

Until then.

Wednesday, May 23

P.F. Chang's Night

So, Brian and I love P.F. Chang's.  Love it.


I always loved their Lettuce Wraps before I became a vegetarian, and luckily they started making Vegetarian Lettuce Wraps soon after I did.  Livin' right bonus.

Brian has tried them a few times and mentioned that he thought they were really good, {even though it's Tofu} so I, of course, decided to try and make them for us at home.

I had the idea that this might be a healthier {and less expensive} alternative to eating out. 

I also may or may not have seen P.F. Chang's turn up on a couple of "Unhealthiest Restaurants" lists...but I digress.

So, a few nights ago, Brian headed to the store while I was at work.

He's cute. 

Not only that, he bought Tofu, {got a weird look from the checkout girl} AND he drained and pressed the Tofu when he got home...

Man of my dreams.


So I put this together using several different recipes I found online...and my imagination.

Now, I only used half of the package of Tofu, but you know my mantra, just eyeball it.


Unfortunately, I have had a few really awful experiences trying to cook tofu at home.  This was actually my first successful attempt & I think it is because one recipe I found called for Baked Tofu. 

SO spread the Tofu out on a lightly greased baking sheet and preheat the oven to 375. 
Bake for 30 minutes, tossing it halfway through.


Heat up 2 Tablespoons of Olive Oil and 2 Tablespoons of Sesame Oil, mixed, over medium heat.
Fry the tofu for a few minutes, stirring occasionally, and then set it aside.


This was my first time using fresh ginger.  Yum.
Thinly slice sides off of the ginger root until all of the rough skin is gone and you are left with a cube.


I put about a Teaspoon of freshly grated ginger into the heated oil along with:

half of a large White Onion, diced
2 Green Onions
& 2 garlic cloves, minced
Sprinkle about 1/2 teaspoon of salt over the mixture at this point, stir & cook for a few minutes until the onions are translucent.


The Water Chestnuts are probably my favorite part & they're what I think really makes the P.F. Chang's connection. 

Drain and rinse them and give them a rough chop before adding them to the saute.


Next add 1/4 cup of Hoisin Sauce...


& 1 Tablespoon of Soy Sauce, {I use Bragg's Liquid Aminos}


I do not know how they get the lettuce into those perfect little pieces at the restaurant...I tried my best, but I probably only got 1 or 2 good pieces.

{you'll also end up with A LOT of leftover lettuce, so you should probably plan on having a salad for lunch the next day}


But even though the lettuce pieces weren't perfect...
these. were. good.


Really good.


A few recipes that I found were way more complicated than this is.  But I just felt that with the onion and garlic and ginger and hoisin sauce and soy sauce...it was enough. 

And it was delicious.  I think next time I might use a little less of the Hoisin Sauce and a little more Soy Sauce...we'll see. 

Let me know if you try this at home! 

I'm working on coming up with my next Restaurant @ Home meal...any ideas?

Until then.

Friday, May 11

Chocolate Chip Oreo Brownies...

So, here's the recipe for the a-mah-zing Chocolate Chip Oreo Brownies I made for Brian's birthday last week.  Needless to say, they were a hit.

And they were really easy, too!

Start with break & bake cookies {at room temperature}
Smoosh 'em down into the bottom of the greased muffin tins.

Mmhmm.

Oreos are Vegan.


Use any brownie batter that you'd like...


This is my version of 3/4 full.

Bake at 350 degrees for 18-20 minutes


E voila.


Heaven.

So, yeah.  These were really delicious.  The cookies were a little tough to get out of the muffin tins.  I waited until they cooled completely, but some were still a bit crumbly. 

I am by no means a baker, so I'm not really sure what I'd do differently, maybe use paper liners?  {Hit me up with suggestions!}

Definitely give these a try, though.  You could also put Reece's Peanut Butter Cups in there instead of an Oreo...or anything, really. 

When it comes to dessert, my imagination knows no boundaries.

Let me know if you make these babies! 

& I PROMISE to reveal the winner of our first giveaway TONIGHT.  So get ready...

Until then.